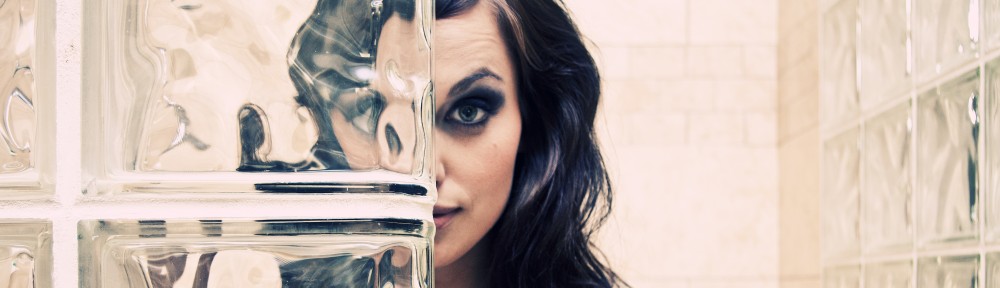

This was a dream project in every sense of the word. As is true for many, Wonder Woman was a first for me – the first female superhero I was introduced to in the world of comics. She holds a really special place in my fandom, and while I love the stars, stripes, and satin tights of classic Wonder Woman, I’ve always been drawn to her Amazon origins. I pictured Diana as a warrior first and foremost, and wanted to bring my specific vision for her to life.
Having enjoyed my Steampunk Lara Croft collaboration with the extremely talented Tess Fowler, I asked her to again aid me in putting an original take on a classic character.
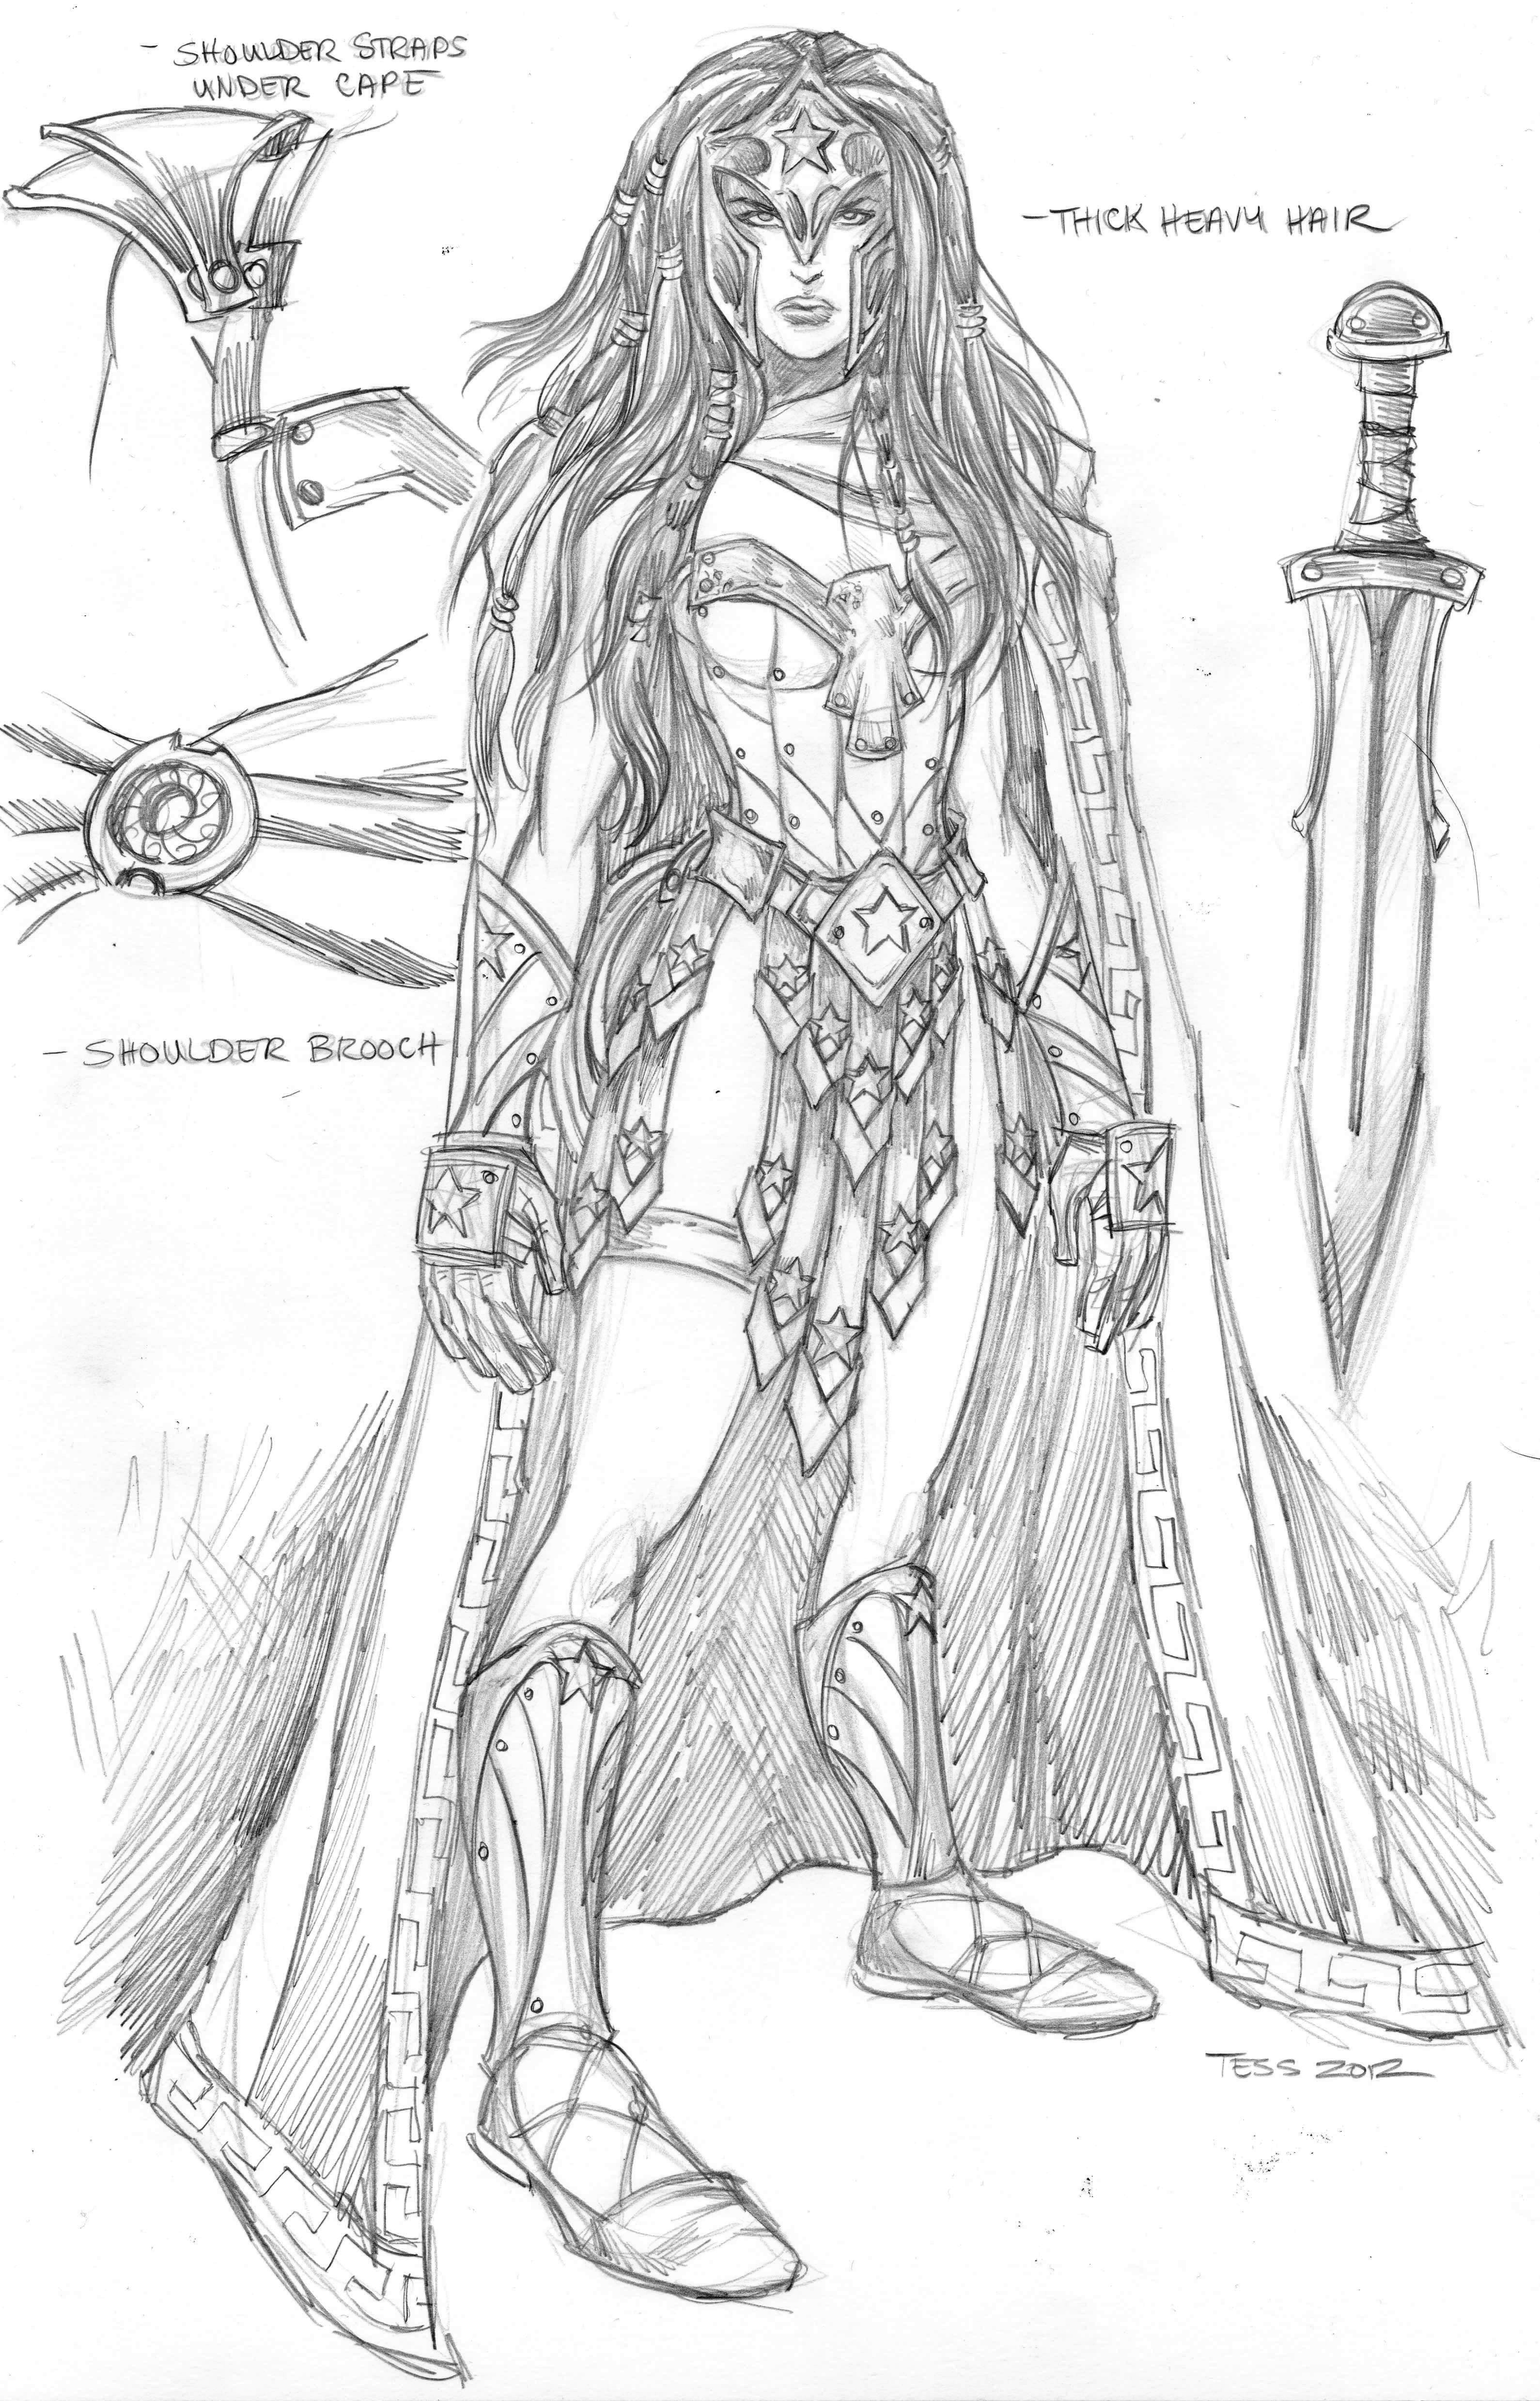
Our collaboration kicked off with lots of research. I sifted through dozens upon dozens of incarnations of Wonder Woman, both official and fan creations. I knew I wanted a gladiator-style skirt and corset, a sword, shield, and bracers. I also wanted a half-helm and cape, the latter having the added benefit of modesty. I also envisioned practical footwear – flat sandals.
Armed with my notes and a slew of reference materials, Tess turned around an initial design that was drawn directly from my imagination. After a few minor adjustments and a quick color pass, Warrior Wonder Woman was born.
A shopping trip was in order prior to kicking off the costume – a rather expensive stop at Tandy Leather. My friend/leatherworking expert Tom Ignatius came along to ensure I picked out the right hides for the project – selecting an untanned hide for the skirt pieces and a nice finished red hide for the corset. Unfortunately, I couldn’t buy any less than a full hide in red, so I had to pick up the entire thing at a price of $300. In a fortuitous turn of events, however, the color worked perfect for my future Castlevania costume.
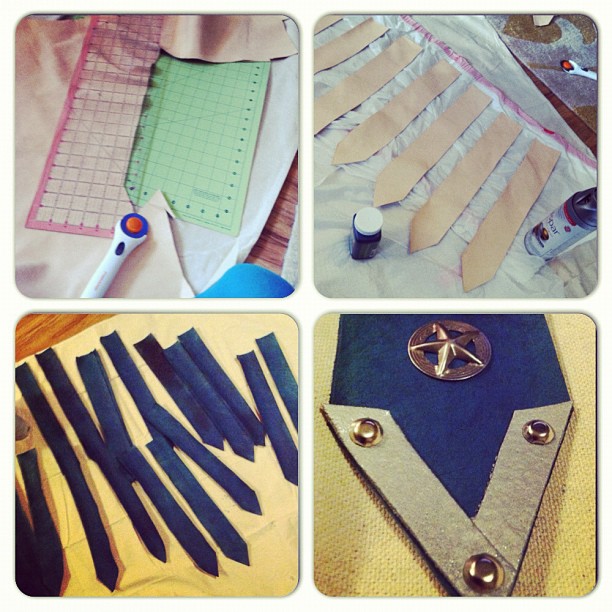
I grabbed a slew of blue leather dye as well as a few dozen decorative conchos, both for the tips of the skirt and for the apex of each armor piece.
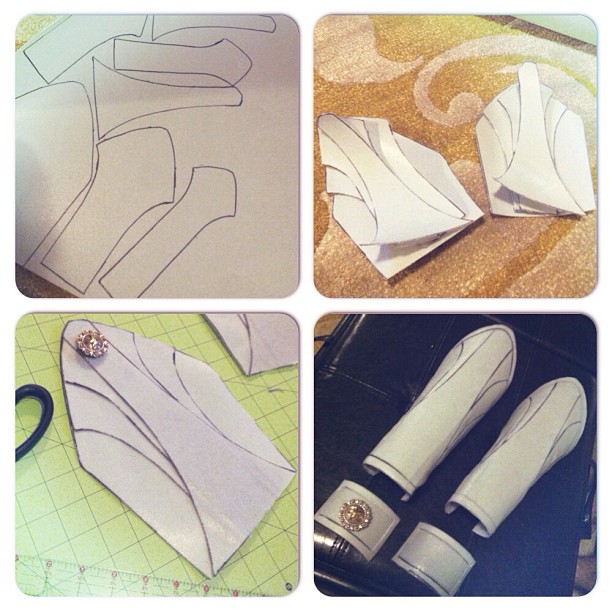
Armed with supplies, I began the project with a massive amount of patterning on paper. Starting with the skirt, I calculated out the amount of coverage I wanted on both my front and back to determine the width and length each skirt piece should be. After confirming the fit on paper, I traced each piece onto leather, cutting it with a rotary blade and straight edge. This process took a few days. Once all the pieces were cut out, I made a protective tarp out of garbage bags and began dying the leather. This process took a very, very long time. Each piece needed 2-3 coats on both the front and back to get an even, deep blue.
While waiting for each coat to dry, I set out patterning and cutting the Wonderflex pieces for the bottom of each skirt spear. This was tedious, but not particularly hard. An aside – I made this costume a year or so back prior to switching to Worbla, which is now my preferred thermoplastic for armor. While Wonderflex works just fine, it is laced with a mesh similar to duct-tape, making it less versatile than Worbla.
After giving them a quick coat of paint, each armored tip was attached to the leather skirt pieces with brads, although looking back I’d rather have used rivets to ensure a polished look on both sides. I also added a concho to the tip of each skirt piece.
The armor came next, and once again I patterned out everything on paper to ensure it was properly sized to my appendages before switching to Wonderflex. The armor consisted of multiple layers aligned on top of each other, with a thin layer of Wonderflex used as trim around the sides. I bonded all the pieces together while flat to achieve maximum adhesion, then shaped them to fit my arms and legs. I used a soldering iron to smooth out the edges and give it a more polished look.
The helm, eagle, belt, and hand guards were made much the same way – pattern layers on paper, transfer to Wonderflex, heat and bond, shape, repeat. Once all the pieces were done, I used a grommet tool to make holes for leather laces. I also lined each piece of armor with self-adhesive craft foam to act as a buffer between the Wonderflex and my skin.
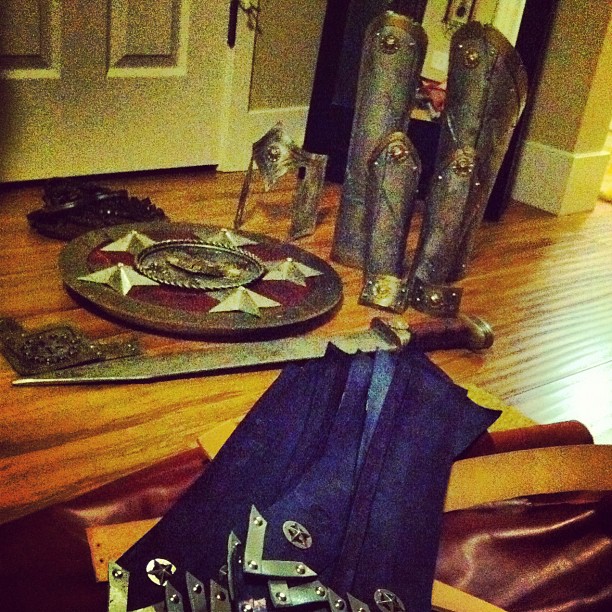
On to accessories – I purchased a wooden gladius on eBay to guarantee it was safe for conventions. I roughed it up quite a bit and added leather to the grip. I then set to work on the shield. I found most of the pieces I needed in one trip. The shield is comprised of a wooden barstool top, an ornamental eagle from a giant necklace, a candle plate holder, bisected Christmas ornaments, and leftover leather. Per my personal cosplay philosophy, I always look for form instead of function, and was super happy to find all of the above while wandering aimlessly up and down the aisles of hardware and craft stores.
Prior to painting the armor and props, I proceeded to distress everything. I used my soldering iron to burn in weapon grazes, as well as various heavy-duty files and sand paper.
Knowing that I’d be using hammered metal paint, I skipped priming all my armor with gesso, something I recommend otherwise. The base of each piece of armor is silver, mimicking Wonder Woman’s classic bracers. I then used a muted hammered gold as accent on the trim. Next, I traced the edges and seams of each armor piece with a fine line of black paint to add some dimensionality, just prior to stippling on a light coat of black and brown paint to simulate dirt. Lastly, I used a much brighter silver in the damaged recesses of the armor, making it look like a raw layer of metal. The final touch was a bit of stage blood, sprayed out of a bottle and allowed to drip down each piece and dry.
With the armor done, the next step was to tackle the corset. Having never made one, I was a bit apprehensive about attempting it on my own. Luckily, Tom is also a master corset maker and offered to help with the process and let me use his industrial sewing machine.
We looked through his huge collection of corset patterns to decide on the general style and shape, modifying it slightly to have a sweetheart neckline. I played assistant in the corset’s construction – tracing and cutting out all the pieces while Tom sewed them together. I sewed a handful of the pieces under his watchful eye towards the end, though, to ensure I learned proper technique for the future.
Once finished, I attached the skirt pieces to the corset with rivets, a long and painful process when you’re exhausted and have horrendous depth perception.
Last came the cape. I’d ordered some fantastic Greek trim in contrasting colors from overseas, and attached it to a simple solution for a quick cape – an oversized circular tablecloth with a circle cut out the middle. Once the trim was attached, I put the entire thing in a bath of coffee and tea to age it. It was then attached to my costume with grommets and the matching conchos. With everything finished I took to the leather and cape with a cheese grater for additional wear and tear, and used black and brown hairspray to dirty it up a bit.
The final touch was the wig. I went for a slightly wavy, shoulder-length look, adding a braid to each side of my face for an ornamental and utilitarian style – the braids keeping stray hairs from obstructing my vision.
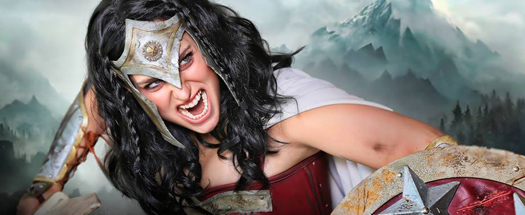
I debuted Warrior Wonder Woman for the first time in Bogota, Colombia, for SOFA 2012. I made sure to dirty myself up to match my attire, using the black and brown hairspray on my skin. The process involves diluting the hairspray for an initial pass, wiping it on with my hands. A second layer is then stippled on with a brush for more distinct patterns of dirt.
Despite the challenge of wearing a corset in high heat and altitude, I had an incredible time wearing Warrior Wonder Woman at SOFA, especially considering how long I’d wanted to bring this vision of her to life.
I brought Warrior Wonder Woman back out for a second time at SDCC 2013, where the lovely Hydred took care of my makeup. I had the great fortune of shooting with a slew of talented photographers in San Diego, as well as at Dragon*Con a few months later, making this the most well documented costume I have to date.
Coming full circle, Tess used my photos as reference for a final, polished piece of Warrior Wonder Woman art. You can see her process in the gallery below.
At the risk of looking silly, I pushed myself quite hard to look aggressive and intimidating during the various photoshoots. While there may be a few giggle-worthy images of me failing spectacularly floating around, I think the risk paid off, as many of the below images capture the warrior spirit I was so eagerly aiming for.
I hope you enjoy the photos, and feel free to ask questions should you have any!

Warrior Wonder Woman Concepts

Warrior Wonder Woman WIP
Warrior Wonder Woman Portfolio
Thank you to the following for the photos! Ljinto, SGH PhotoArt, Joits Photography, Jason Chau Photography, Estrada Photography, Dru Philips, Elysium Entertainment, Chris Fink, Darryl Pamplin, OnLivo, & Eurobeat Kasumi


I first saw a photo of you from this set on TheChive and I was like “who is that!?” Since then I’ve looked through your work and have become a huge fan. You are one talented individual. This is my favourite set so far!
I think I might even try my hand at a costume for some conventions up here in Canada.
Keep up the good work!
Steve
Thank you Steve! I hope you try your hand at a costume! Once you start, it’s hard to stop. 😛
Thanks for your Wonder women cosplay crafting experience sharing. Sometimes reading the costume construction notes are more interesting than looking at the finished costume.
What an amazing project!! There must have been so many hours of planning & creating!
Thanks for sharing your work with us!
xo, Luchessa.
Amazing. The kind of WW I’ll show my daughter. Thanks.
Wow, what a compliment! Thank you d’ennul!
Good morning Meagan Marie,
Extraordinary creation and work! I have a team of superheroes ready to start visiting sick kids in local hospitals. Do you create commissioned costumes. We would love to have a similar costume to the one you created.
Thank you again for your incredible work.
Best regards.
Dan
Hello Dan! Thank you so much! I’d love to help out with costumes for hospital visits, but I’m too short on time to start taking commissions. I appreciate your interest, though!